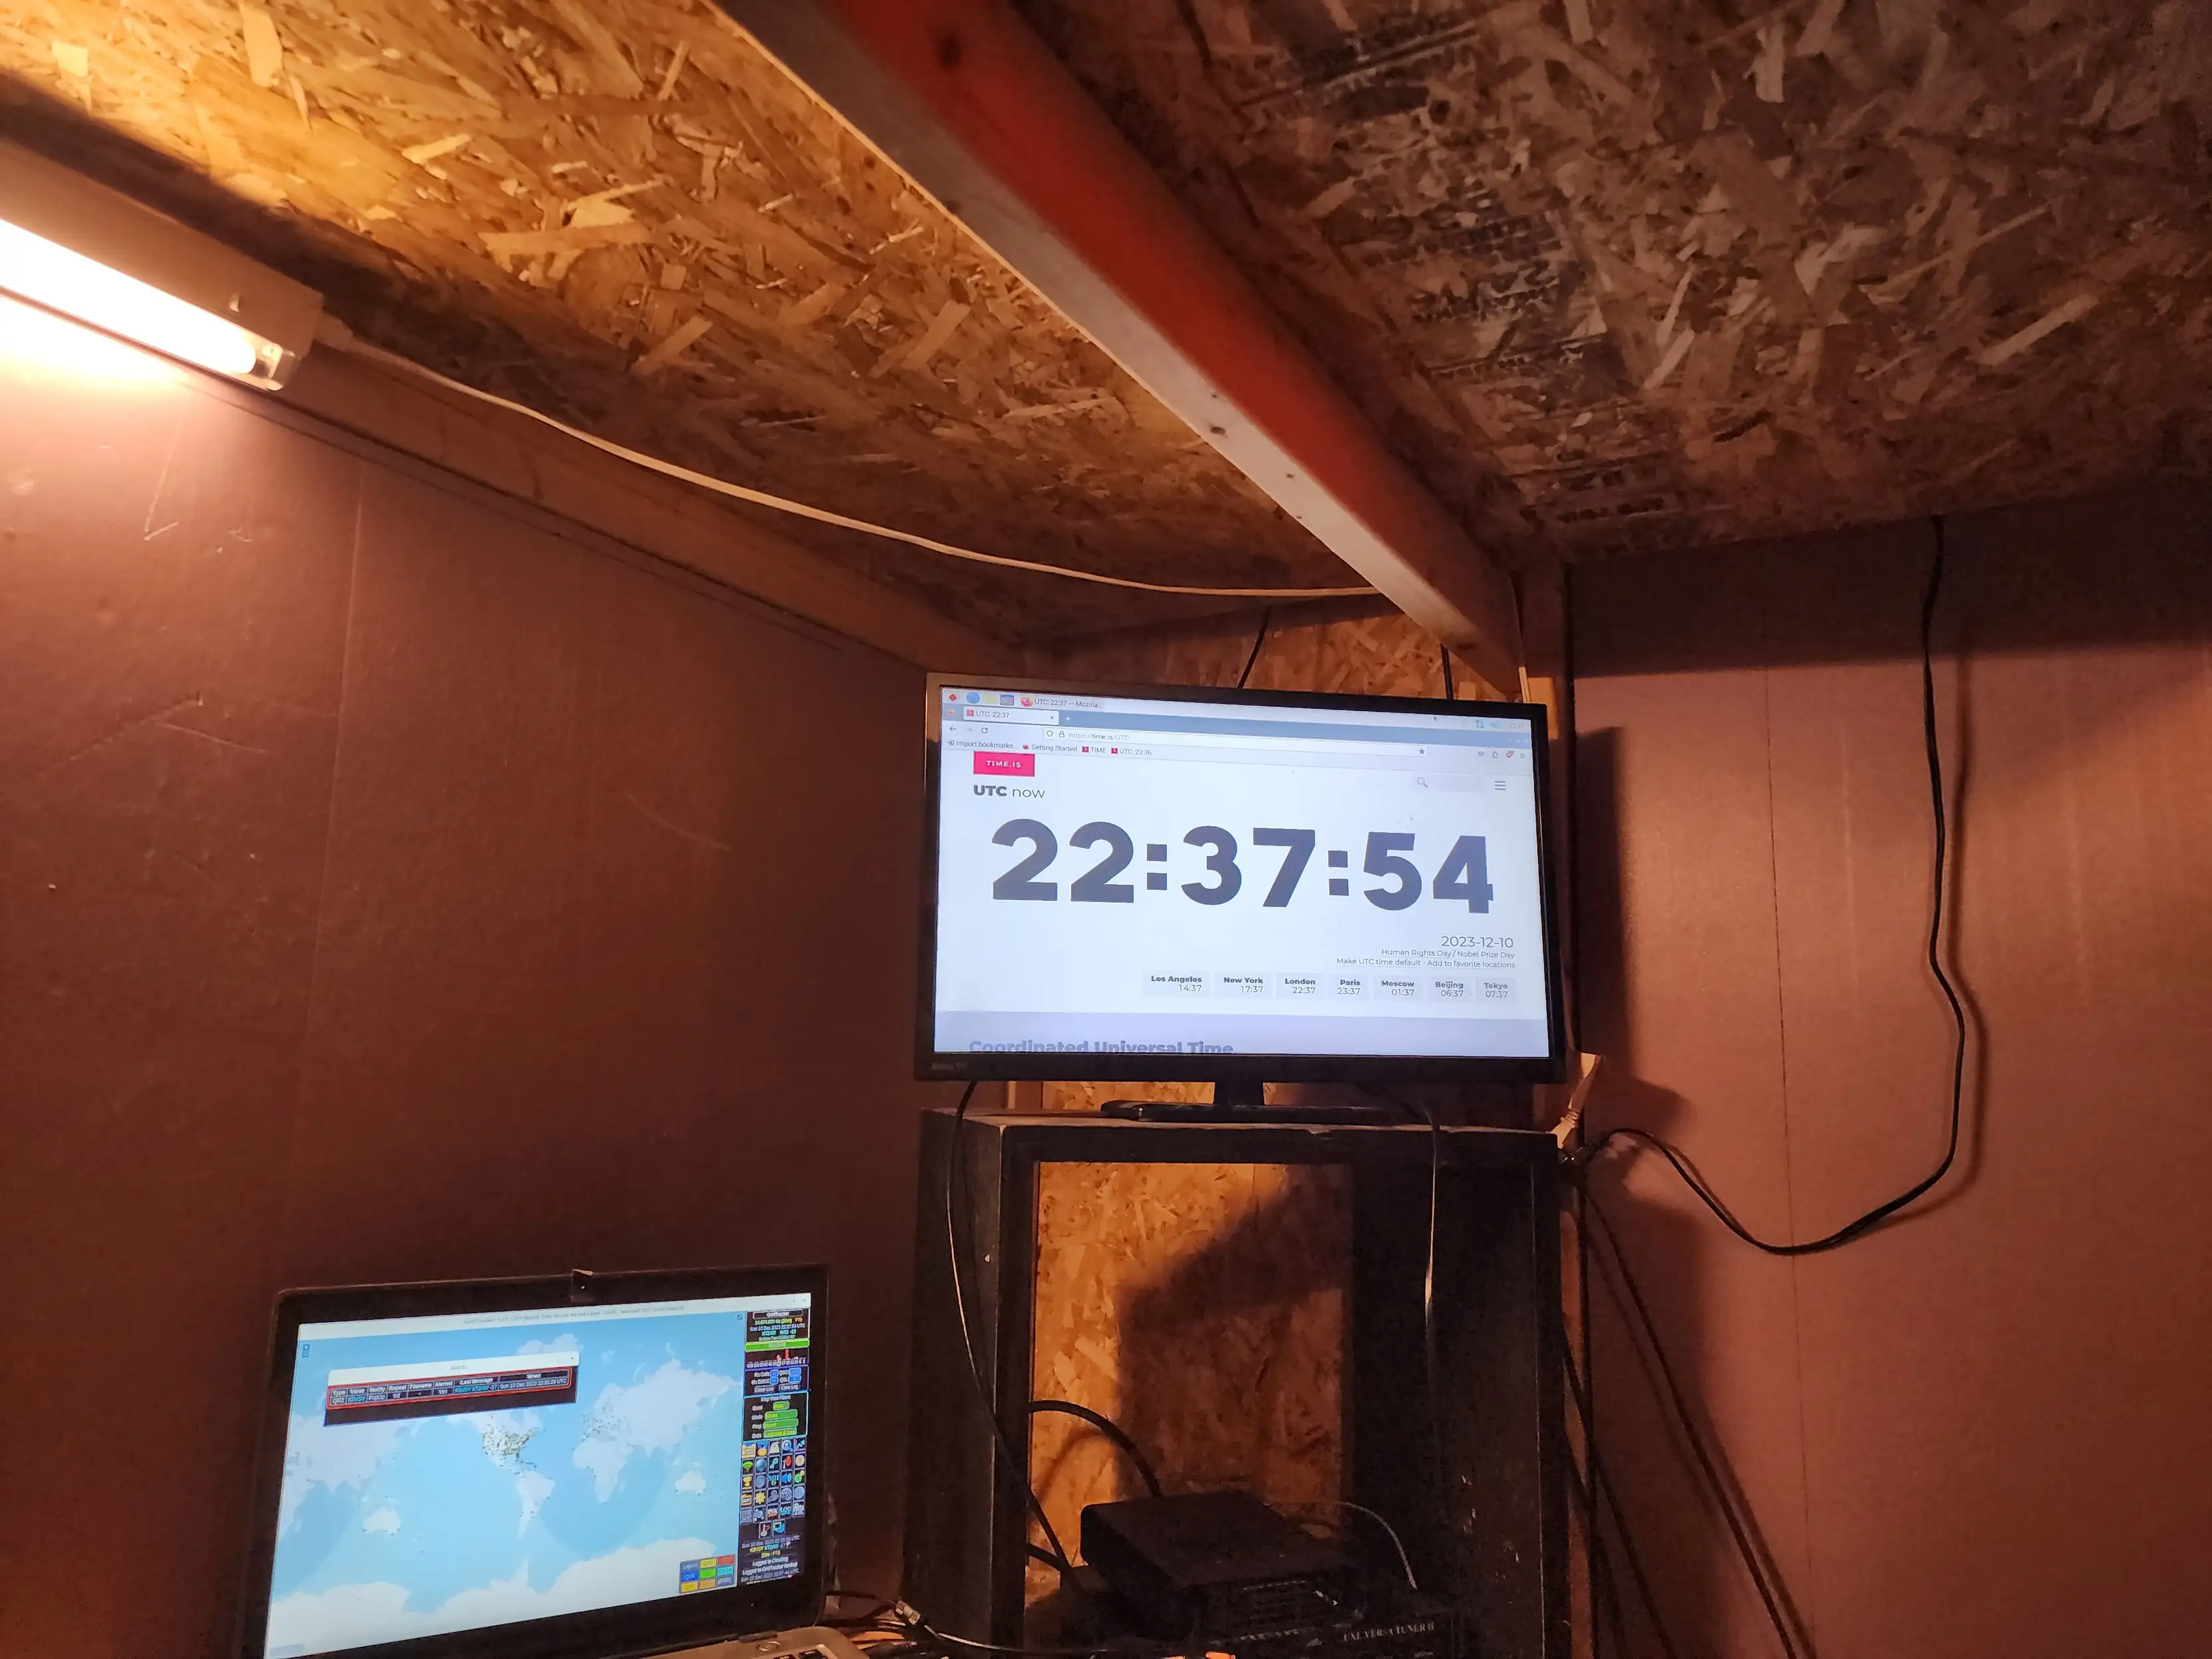
I recently bought a new Raspberry Pi 5 (RPi5) and I’ve been looking for something to do with my Raspberry Pi v3.
I found an older small TV that I had laying around and decided to set up a UTC clock in my BunShack (ham radio shack).

I know this is overkill for an Raspberry Pi v3, but it wasn’t doing anything else, and it gives it something to do while I work on additional plans for it.
Connecting to Existing X11-Session Remotely #
One of the challenges I ran into is that I wanted to control the display on the RPiv3 without having to change my keyboard and mouse from my primary BunShack computer to the RPiv3. I came across some instructions online on how to connect to an existing X11 session using TigerVNC.
Basically the gist of the solution is:
- Install
tigervnc-scraping-serveron the host machine you want to connect to - Run
mkdir ~/.vnc - Run
vncpasswd - Finally run
x0vncserver -rfbport 5901 -localhost yes -passwordfile ~/.vnc/passwd -display :0on the host machine you want to connect to
Then when you are ready, to securely connect to the remote machine set up an SSH tunnel:
ssh -fX -L 5901:127.0.0.1:5901 -C -N -l MYUSERNAME 192.168.1.100
Change the MYUSERNAME to your user on the remote machine, and change the 192.168.1.100 to the IP address of the machine running the X11-session you want to connect to.
Then on your local machine open vncviewer and connect to 127.0.0.1:5901.
You’ll be prompted for your vnc password you created earlier, so enter that.
There you go, you should now be able to connect to your remote machine securely.
I hope this helps somebody.
UPDATE (2023-12-23) #
I was pointed in the direction of HamClock on Mastodon, so I switched to using that on my Raspberry Pi.

73, K8VSY

💬 Comment: